For fast deploy, see the videos in the next documentation section
UPONSCALE Install FOR SCALE COMPUTING #
Before installing, download the Uponscale ISO CD with the link you received after Uponscale’s purchase by mail.
Install UPONSCALE software as a Scale computing virtual machine with the UPONSCALE ISO.
Installation minimal prerequisites:
- – DHCP network with an internet access
- – VM type: linux (other)
- – Drivers: performance
- – CPUs: 4
- – RAM: 8GB
- – Disk: 20GB
- – Internet access not too much filtered
It’s important to have access to internet during the installation process
Once you created the virtual machine and started it, the installation wizard will open.
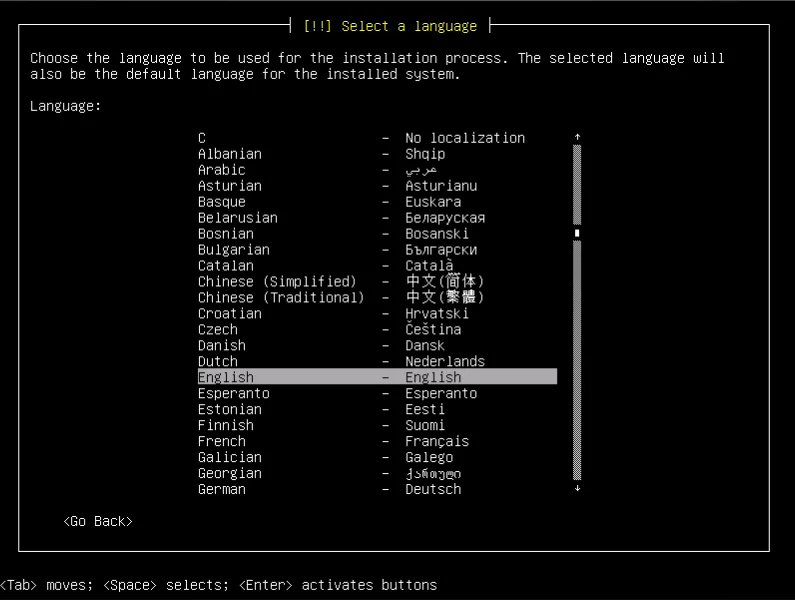
First select the language for the wizard of UPONSCALE.
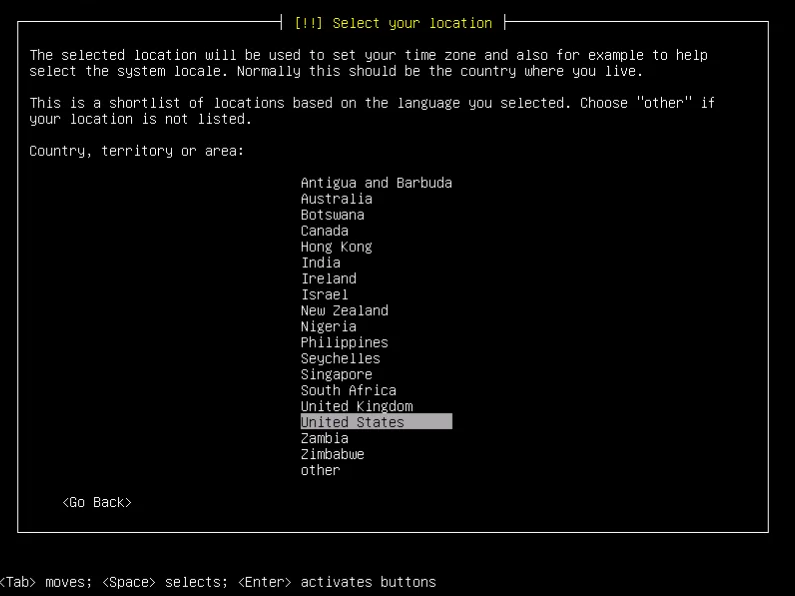
Secondly, Select your location (it will pre-select the Timezone in the selected location).
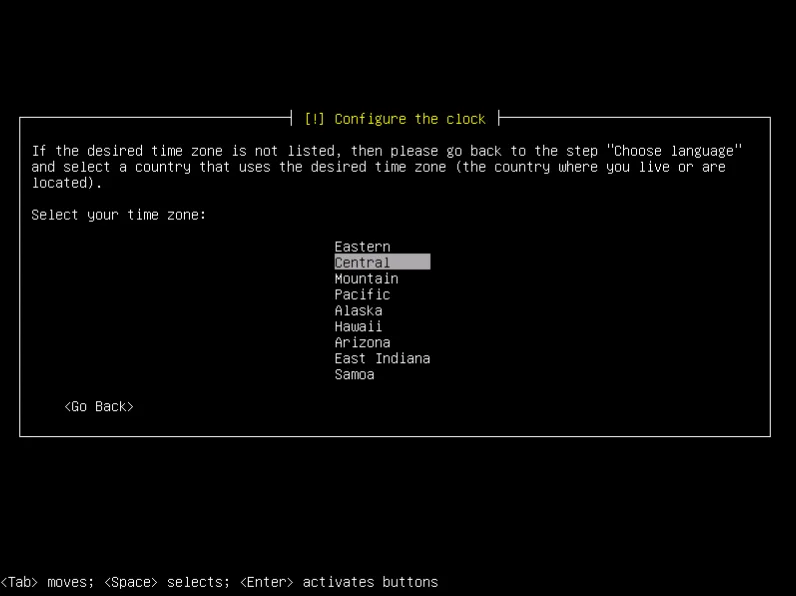
Thirdly, configure your clock by selecting it’s timezone.
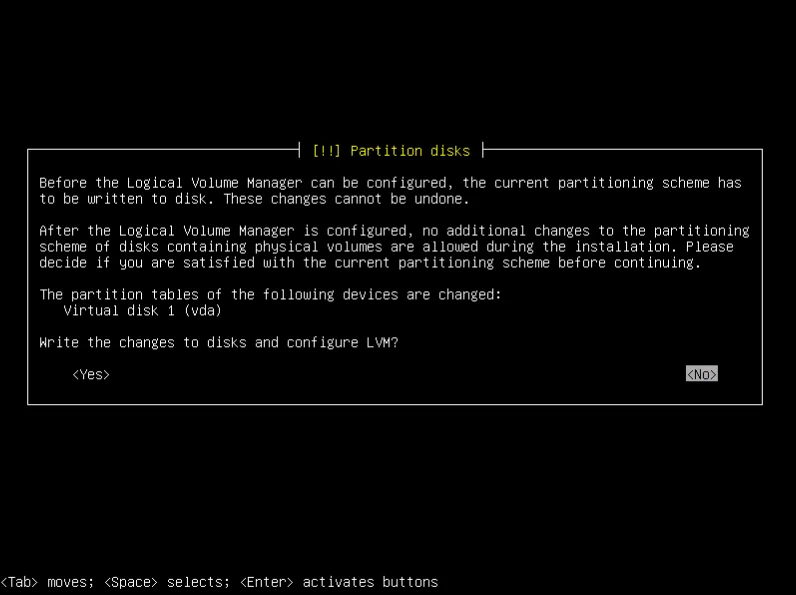
Finally, confirm where the disk partitioning happens to avoid any problem, once you confirm the change will be made and will be irreversible !
UPONSCALE Configuration #
Now that Uponscale is installed, go to Uponscale’s console and connect with the default user:
- id: uponscale
- password: uponscale
Then in the Virtual Machine’s interface you will have to change the password before
Now from the uponscale menu (where you can configure your network, change your password, shutdown/rebbot Uponscale or see the current configuration) go to “Info” to find the Uponscale’s web interface’s IP.
The link to Uponscale is :
https://IP_ADDRESS
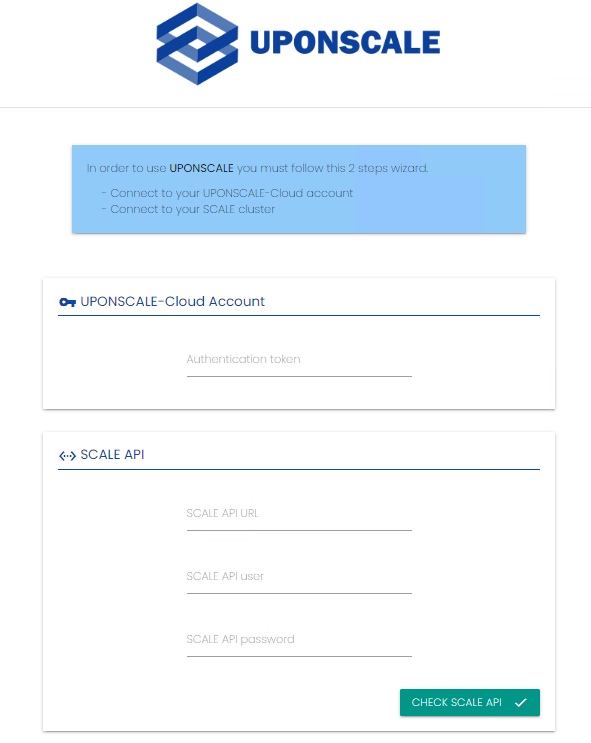
- – The TOKEN code provided (Ask support@uponscale.com if you don’t have any token)
- – Your scale API URL (Your scale IP_ADDRESS like 192.168.1.10 withtout https)
- – Your scale API User (A scale computing user with admin rights
