To create a new VM, go into the Convergence ⇒ Virtual Machine tab and then click on the Create new VM button.
Virtual Machine settings #
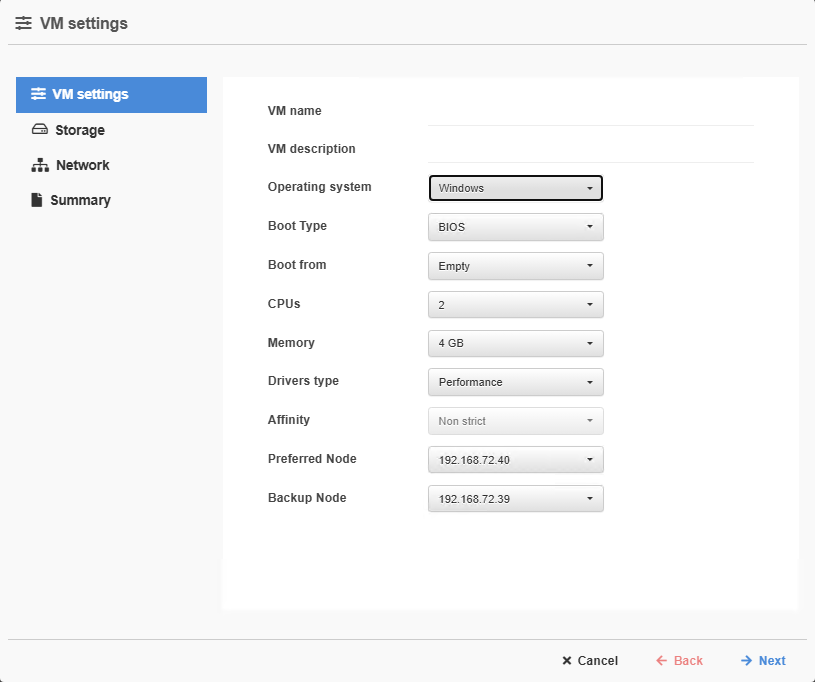
When you enter the VM creation window, you will first be shown the VM settings popup where you can :
- – Enter the name of the VM and its description (optional)
- – Select the operating system of your VM: Windows or Other
- – Choose it’s boot type: BIOS or UEFI
- – Select the ISO to boot your VM on
- – Define the CPUs and Memory amount
- – Select the driver type:
- 1. Performance (recommended): use the VIRTIO drivers for better performances
- 2. Compatible: use the standard IDE driver (more compatible but lower performance)
- – Affinity : Default : “Non strict” . It is the default option. Select “Strict” if you only want to force the VM to run on a specific node
- – Prefered Node : Not used if Affinity is set to “Non Strict” . If you have selected “Strict” in Affinity, then you must select the “prefered node” where the VM will run.
- – Backup Node : Not used if Affinity is set to “Non Strict” . If you have selected “Strict” in Affinity, then you must select the alternative node where the VM will run if the “Prefered Node” is not available.
Example of a filled settings window.
Storage #
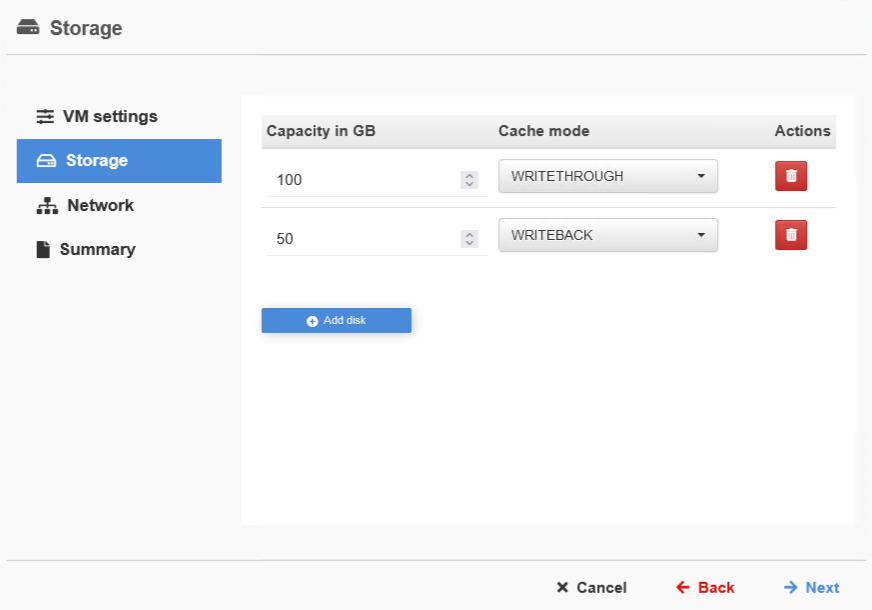
For each disk, you can define the size in GB and select it’s Cache Mode:
- – None: disabled cache mode
- – WRITETHROUGH: Synchronous Write and Read cache mode
- – WRITEBACK: Read and Write cache mode
Example of the storage window with 2 disks created.
Network #
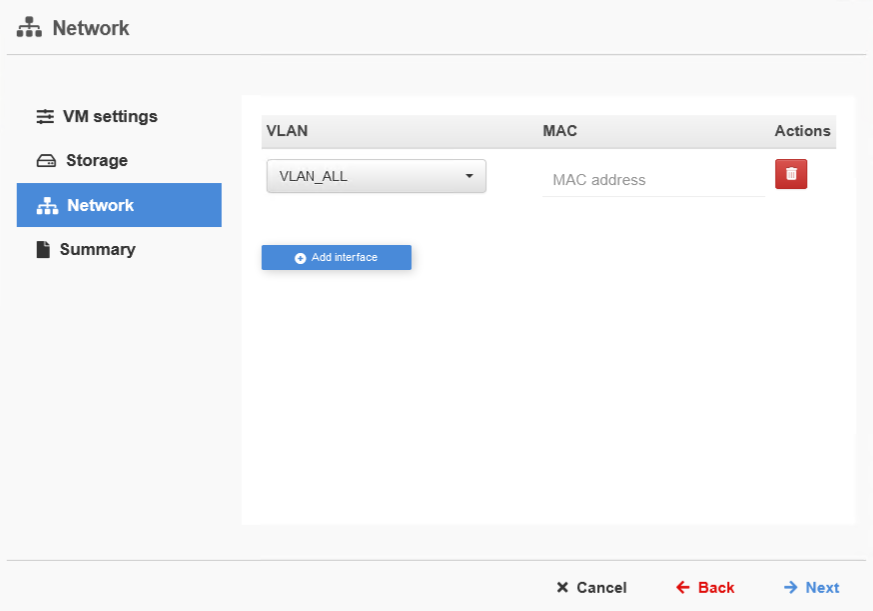
In the network tab, you can add one or multiple network interfaces with the “Add interface” button.
For each interface you created can select the VLAN it will use and fill the MAC address in this format (aa:bb:cc:dd:ee:ff:gg), if you don’t, the MAC address will be auto-generated.
Example of a network tab with one interface set up with an auto-generated MAC adress.
Summary #
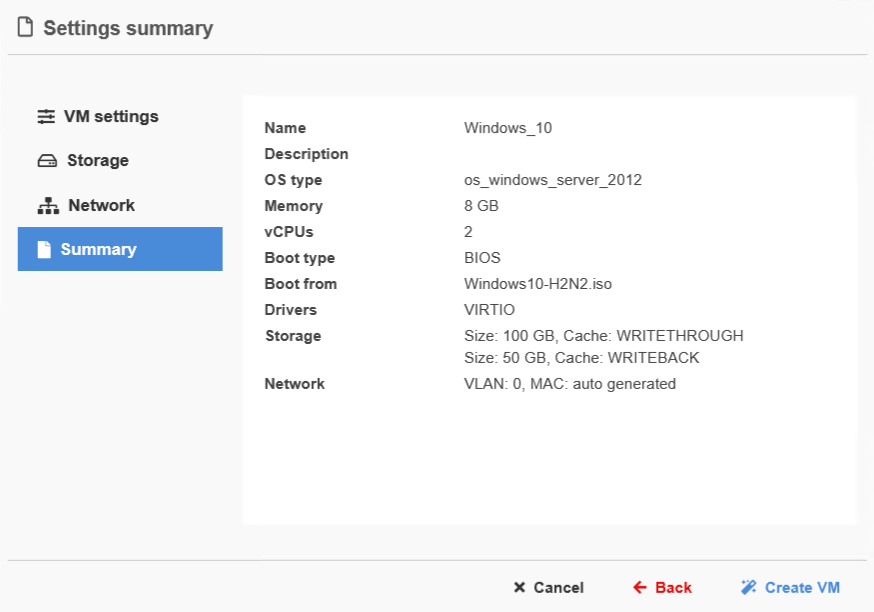
You can see in the Summary tab all the information you decided on.
After you checked that everything is in order you can click on the create VM button to complete the VM creation.
Example of a summary tab of all the other exemples.


